 It’s February and 2013 is officially underway! So now it’s time to gear up for our first big holiday of the year – Valentine’s Day. And I am so excited! After all of this rain we’ve been having, I’m ready to add a little color to my life. We’re starting the month off easy with a very easy super sweet project. We’re making Valentine’s cupcakes. Yummy! I’ve been on a diet for the past month, so I’m looking forward to baking some sweet treats.
I will begin by saying that I prefer to use store bought cake mix, rather than baking cakes from scratch. It’s just my personal preference. I like my cakes and cupcakes to be light and airy, rather than dense. It’s your decision, you can bake your cupcakes from scratch or you can use a cake mix. So let’s get started!
Valentine’s Cupcakes
Materials:
– Chocolate Cake mix (plus necessary ingredients)
– Buttercream Frosting
– Cupcake Liners
– Bread Knife
– Heart-shaped Cookie Cutter
– Pink or Red food coloring
– Spatula
– Ziplock Bag
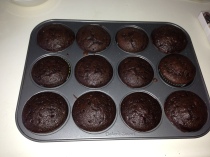
Begin by mixing up the ingredients for your cupcakes and baking them according to the directions. Let cupcakes cool for thirty minutes. Then place cupcakes in the refrigerator for thirty minutes.
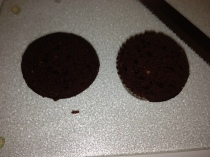
Remove cupcakes from the refrigerator. Using your bread knife, cut the tops off each of the cupcakes just above the liners.
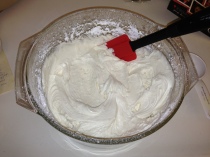
Place the cupcakes and their tops back in the refrigerator for another thirty minutes. In the meantime, mix up your butter cream frosting.
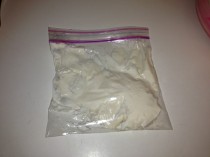
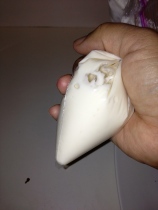
Once your frosting in mixed, remove 1 cup of it and place it in a ziplock bag. Set it aside for later.
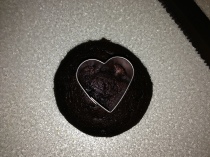
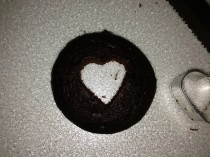
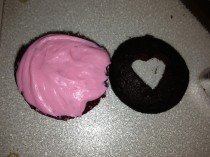
Remove the tops of your cupcakes from the refrigerator. Set them on a clean surface. Insert your heart-shaped cookie cutter into the center of your cupcake tops. Remove the cookie cutter and the cake inside of it. You should be left with a hole in the tops of your cupcakes in the shape of a heart.
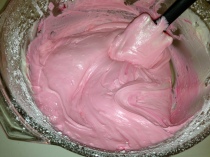
Add your pink or red food coloring to the remaining frosting in your bowl. Remove the bottom of your cupcakes from the refrigerator. Using a spatula, apply a healthy amount of your colored buttercream frosting to the top of your cupcake bases.
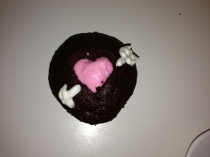
Place the tops back onto your cupcakes. Apply a little pressure, so the frosting oozes into the heart-shaped hole. Now for the finishing touches. Grab your ziplock baggy with the white frosting in it. Force the frosting down into one corner and twist the top to create a pastry bag. Cut the tip off, leaving a very small hole in the end.
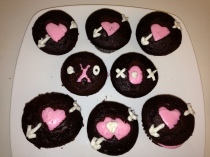
Using your make-shift pastry bag to decorate your cupcakes. I made arrows shooting through my hearts. Silly, but fun.
Now you’re finished! Time to try one out. I assure you they will be delicious!
ENJOY!
